
Make a set of Halloween 10 invitations, complete with envelopes and mailing labels, bring a plate message and food label for about $3!

Materials:
10 sheets of A4 black paper
Packet of orange envelopes from discount store
Glue stick
Scissors
10 toothpicks
Computer
Printer
White computer paper
1.
Begin by printing out these great mailing labels by Preschool Printables for your envelope.
I copied and pasted these into Jarte (a free word processor) and re-sized them to suit.
Cut them out, apply glue and stick them on your envelopes.
2.
Next, begin work on your cards.
Take one of your black sheets of paper.
Fold it in half so the short ends meet.
Fold in half again to form a card.
Repeat 9 more times.

3.
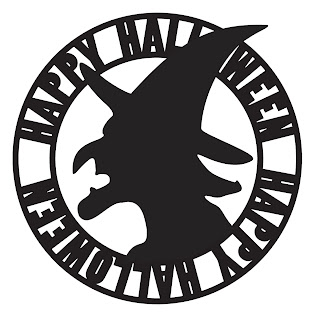
Copy and paste this spooky witch silhouette by Eri Doodle into your word processor and re-size to fit on the front of your card.
Print out 10 of these and cut and glue them onto the front of your card.
4.
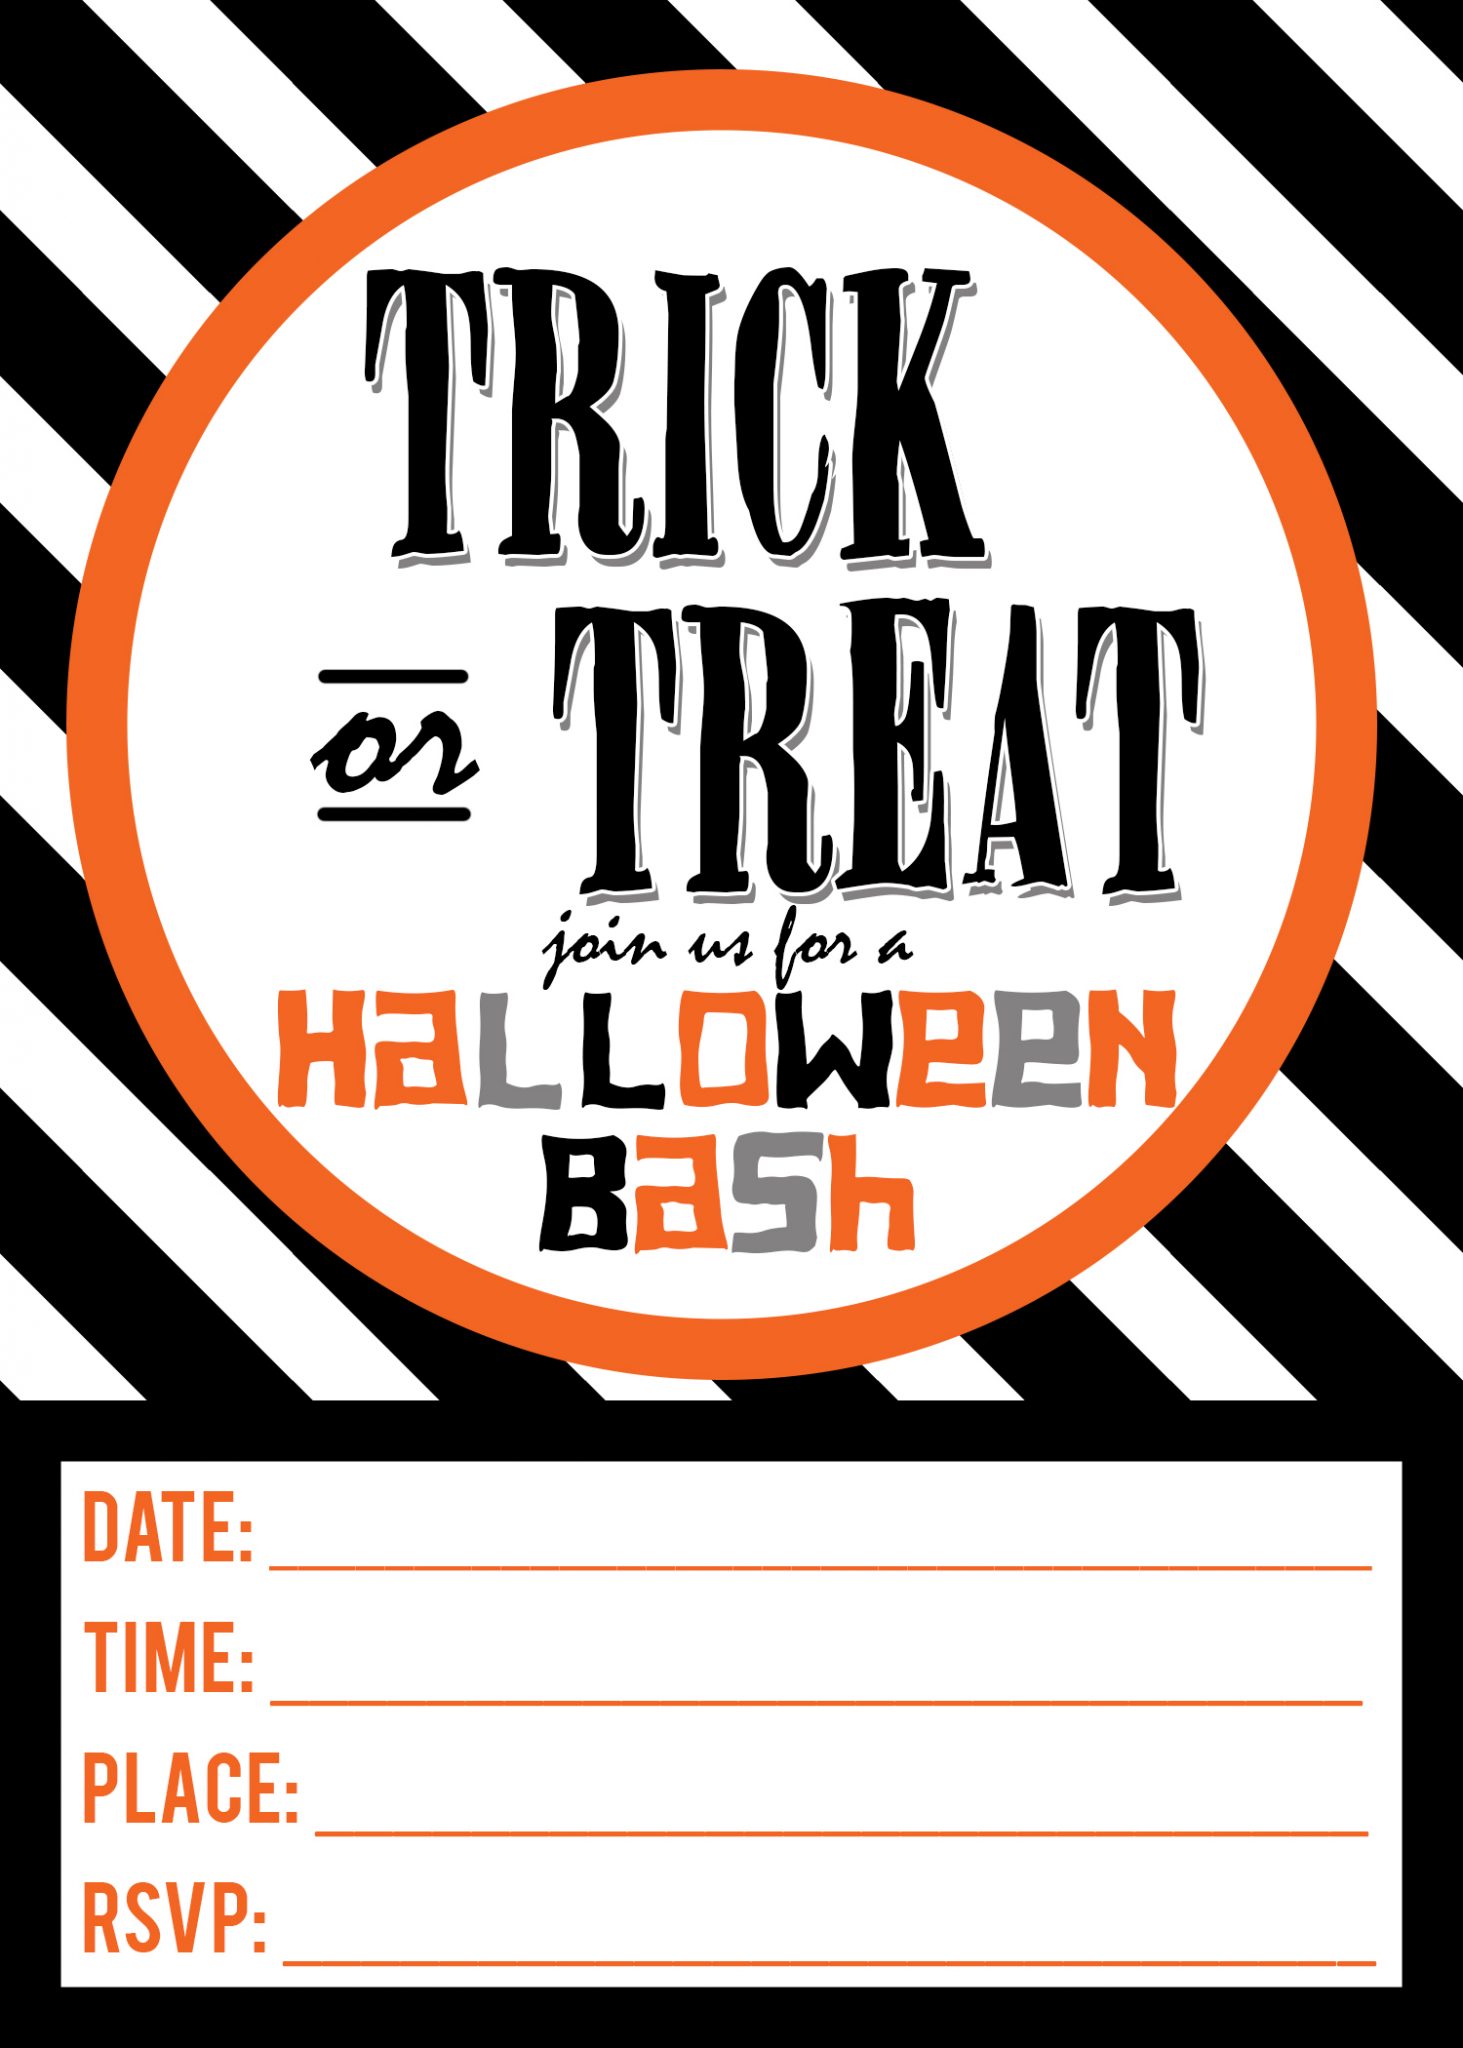
Copy and paste these fabulous invitations by Moritz Fine Designs into your word processor and resize to fit inside your card.
Print out 10 and cut and glu them into your card (stick on the right hand side).
5.
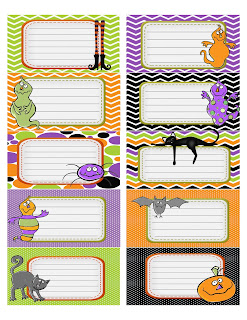
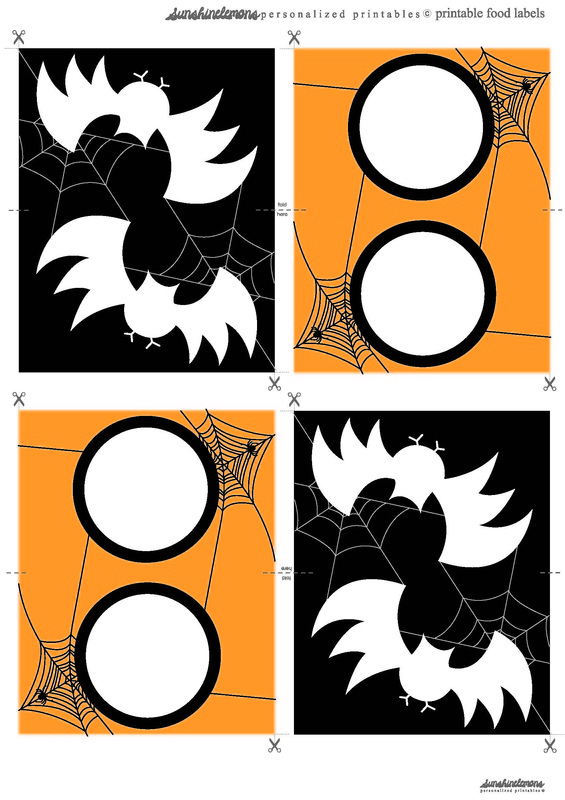
Next, copy and paste these food labels by Sunshinelemons into your word processor.
Print them out, fold in half, apply glue all over the inside. Get a toothpick and place it to the left of the bottom half and fold the top half down to encase. Set aside to dry.

6.
Copy and paste this 'Bring a Plate' message that I created into your word processor.
Print out 10.
Cut and glue these onto your card on the bottom right hand side.

7.
Finally, you need to insert the toothpick. Lift the bottom left corner of the card. Poke the toothpick through from the top and come out from underneath. All done!
No comments:
Post a Comment